The first time you open the app
Nexus Contacts opens with four short screens: a welcome, a screen about your contacts, one for setting up your own card, and a confirmation. Skip Setup on the first screen takes you past all of them.
Access Your Contacts
The second screen is the only one that asks for a permission, and it asks for one: access to your contacts. It explains what the access is for — saving people you meet straight to your contacts, linking a capture to someone already there, and filling in your own card — and gives you two buttons: Allow Access and Not Now.
Tapping Allow Access is what brings up the iOS permission dialog. Tapping Not Now asks for nothing, and moves on.
Not Now is a real answer. The rest of setup works without contacts access — you can type your own card by hand — and you can finish the whole flow having granted nothing. If you change your mind later, the app asks again at the point where it needs the access, and if you say no there it does not ask again.
Nothing else is requested here
The camera, your photos, your location, your calendar and notifications are not requested during setup. Each is asked for later, at the moment you do something that needs it.
The last screen
The final screen confirms you are set up and moves on by itself after a moment. You do not have to tap anything.
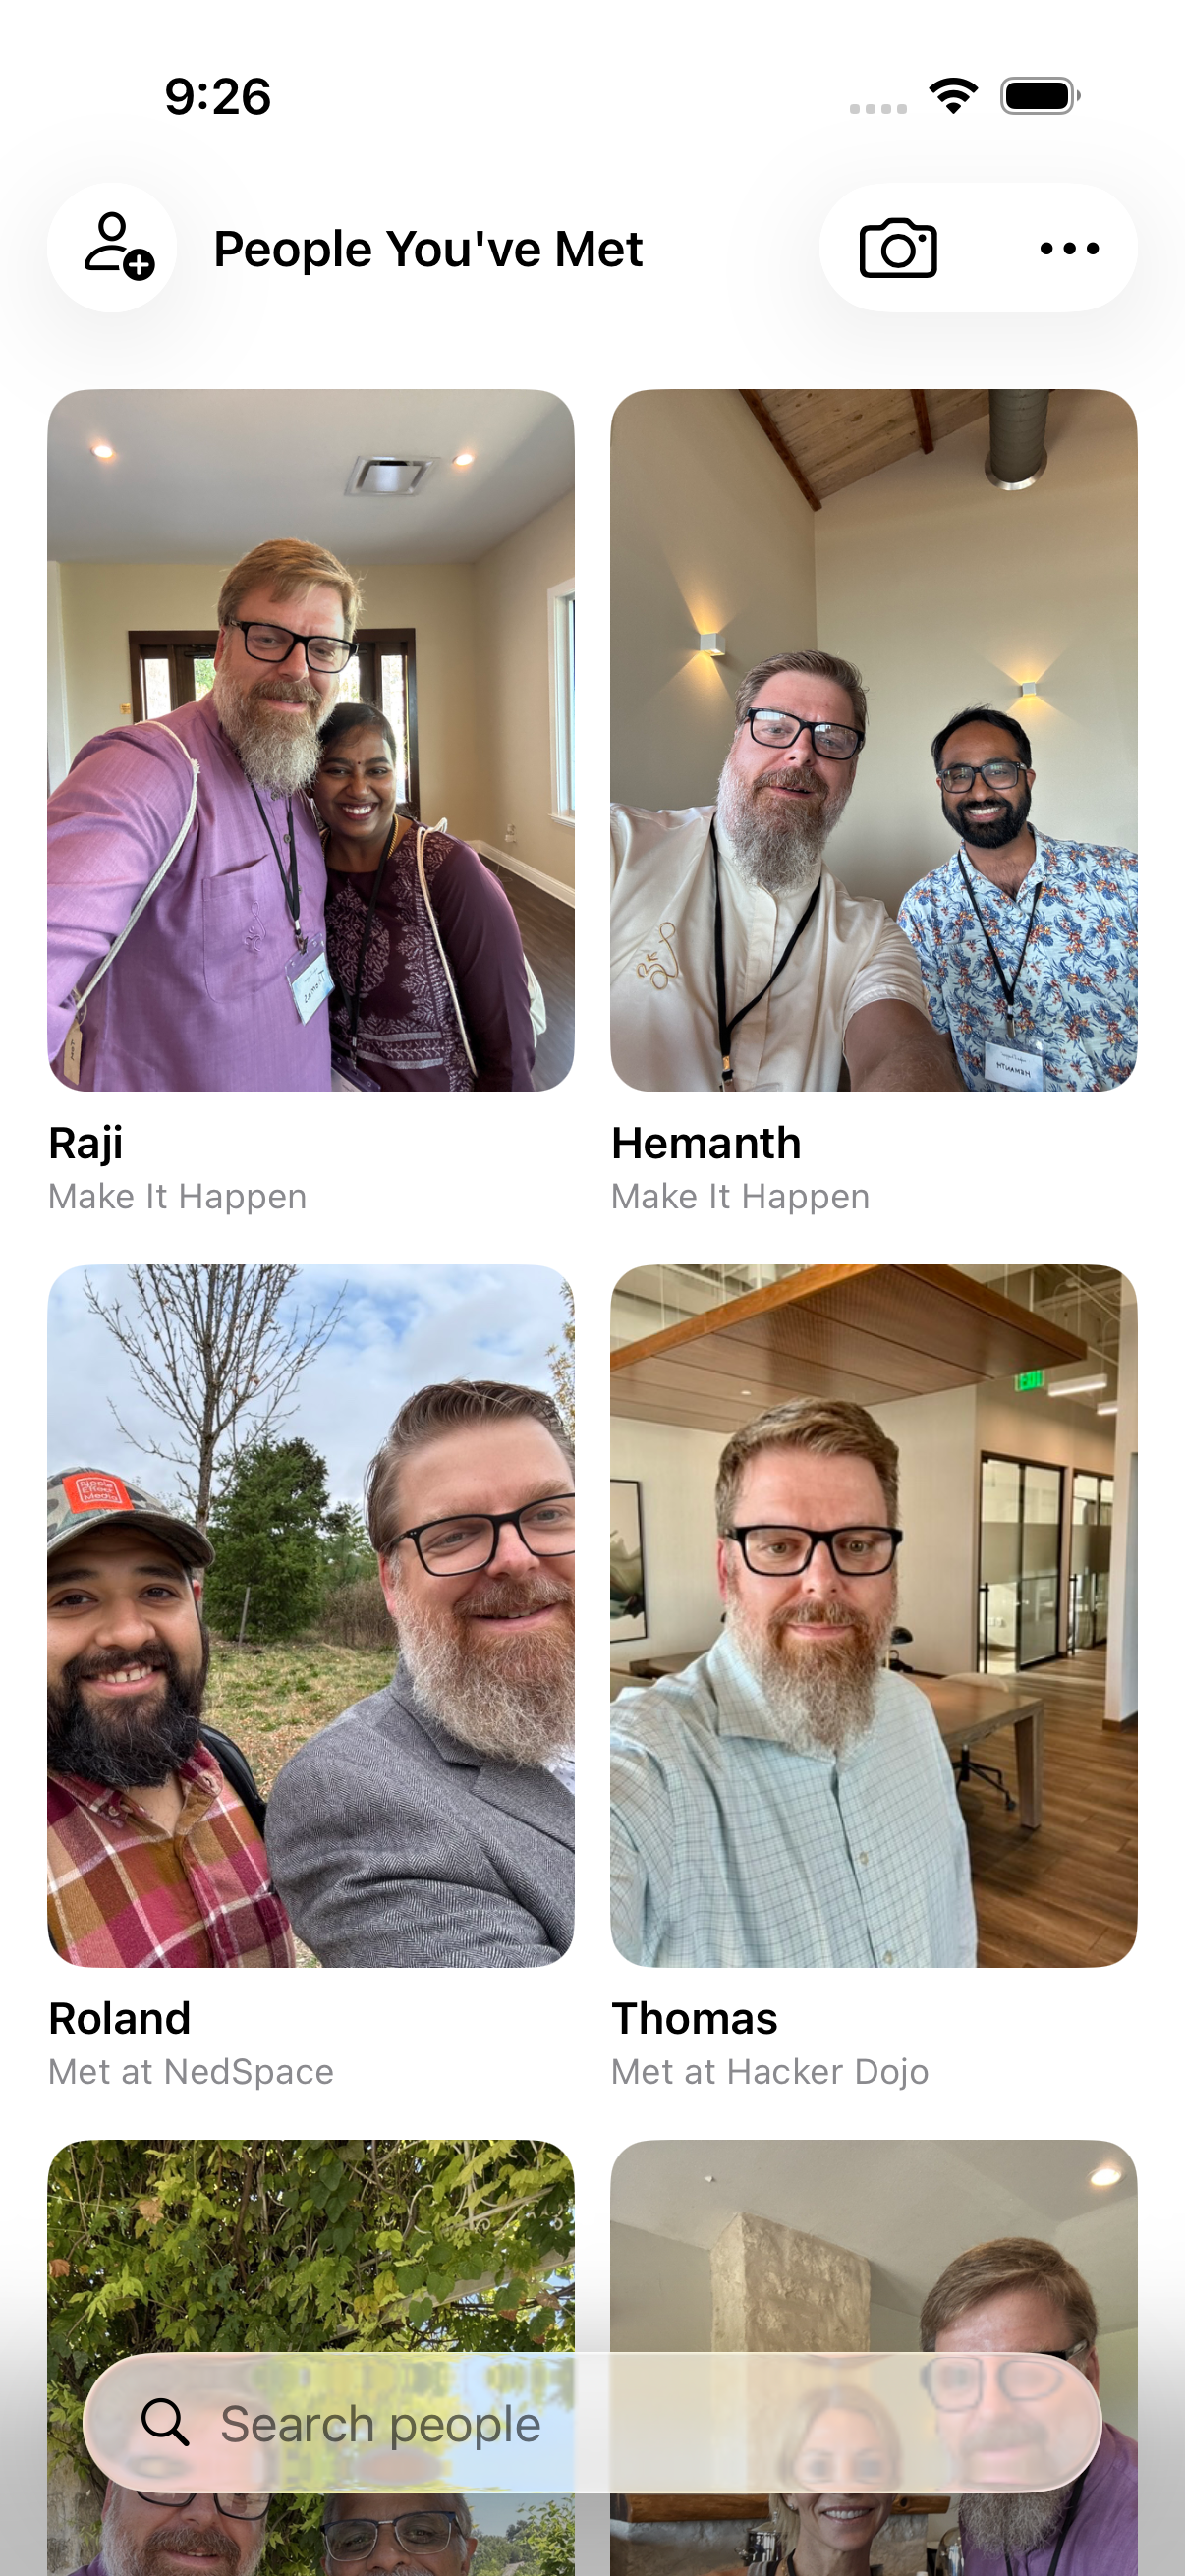
Your wall: People You've Met
Home is a wall of faces — one tile per person you've met, with where and when you met them.
- Tap any face to see everything you remembered: the place, the event, and your journal
- The camera button starts a capture — selfie, a line about them, done
- "I'm at an event…" tags every capture with the event until you end it
How to add a contact manually
Tap "New Contact" on the dashboard to create a contact directly. Add their name, phone number, email, and any notes you want to remember.
You can also add a photo and tag the event where you met — all in one step.
Adding a business card
Three ways in, all from a person's page: the camera via Add Business Card, Choose Card from Library for a photo you already have, and Read Card Again on a card already saved. All three land on the same review sheet, with nothing ticked for you.
- Open the person the card belongs to. The scanner lives behind Add Business Card on their page, so capture the person first.
- Photograph both sides in one session. The scanner stays open between shots, so take the second one before you tap Save. Its own review step comes before the text is read, so anything you fix there is what gets read.
- Review what was found. Every line has a checkbox and none is ticked to begin with.
- Tick what you want and fix what the text recognition got wrong. Tick a name or the company if you want a phone contact created for them.
- Save. Only ticked details go to your phone contacts. The card photo stays with the person either way.
To re-read a card you have already saved, choose Read Card Again — on the card's thumbnail menu, or in its full-screen view. From full screen the photo closes first and the review opens after, so the card disappearing is the next step rather than a cancellation. Re-reading one page re-reads every page saved in that scan.
No copy of the card comes to us.
Your existing contacts
Nexus Contacts starts empty. Your wall fills with people you add here: someone you captured, someone who shared their card with you, a business card you scanned, or a backup you restored. Your existing contacts do not appear on it.
Nexus Contacts reads your address book to find names you already have: linking someone to a contact you have, and picking a companion to share alongside you. Those reads happen on your device. Only people you capture count toward your free hundred, and anything saved syncs through your own iCloud when you have it turned on.
If this page doesn't answer it, email [email protected]. A person reads it.